Perfect Homemade Sourdough Bread with Starter Recipe
Master the art of sourdough bread making with this foolproof recipe that creates perfectly tangy, crusty loaves every time. This comprehensive guide covers both creating your own sourdough starter from scratch and baking magnificent artisan bread at home. The slow fermentation process develops incredible flavor complexity while creating that signature chewy texture and crispy crust sourdough lovers crave. Wild yeast and beneficial bacteria work together to create natural leavening that's easier to digest than commercial yeast breads. This traditional bread-making method has been passed down through generations, producing bakery-quality results in your own kitchen. The active sourdough starter requires just flour and water, making this recipe budget-friendly and free from artificial additives. Perfect for beginners and experienced bakers alike, this step-by-step guide ensures success with detailed timing and techniques. The distinctive sour flavor comes from natural fermentation, creating probiotic benefits and improved nutritional value. Whether you're starting your sourdough journey or perfecting your technique, this recipe delivers consistent, professional results. The crusty exterior gives way to an open, airy crumb structure that's perfect for sandwiches, toast, or enjoying with butter and jam. Long fermentation breaks down gluten proteins, making this bread more digestible for sensitive stomachs. Create your own artisan bakery experience at home with this authentic sourdough bread recipe that transforms simple ingredients into extraordinary flavor.
About This Recipe
My sourdough journey began during a cozy winter weekend when I discovered my grandmother's handwritten bread recipes tucked away in her old recipe box. Among yellowed index cards, I found her notes about keeping a "friendship starter" that she'd maintained for over thirty years. The idea of nurturing living yeast cultures fascinated me, connecting me to generations of bread bakers who relied on wild fermentation long before commercial yeast existed.
Creating my first sourdough starter felt like conducting a science experiment in my kitchen. Day by day, I watched flour and water transform into a bubbling, aromatic culture teeming with life. The anticipation built as my starter doubled in size, developing that distinctive tangy aroma that promised incredible bread ahead. When I finally baked my first loaf, the kitchen filled with the most amazing smell – earthy, complex, and deeply satisfying.
Sourdough bread making taught me patience and respect for natural processes. Unlike quick breads, sourdough demands time and attention, rewarding careful nurturing with extraordinary flavor and texture. Each loaf tells a story of fermentation, from the initial mixing through the long, slow rise that develops character in every bite. The crackling crust and tender crumb represent hours of anticipation and the magic of wild yeast transformation.
This recipe has become my weekend ritual, filling our home with warmth and bringing family together around fresh, homemade bread. Whether shared at breakfast with honey and butter or transformed into gourmet sandwiches, this sourdough creates memories and nourishes both body and soul.
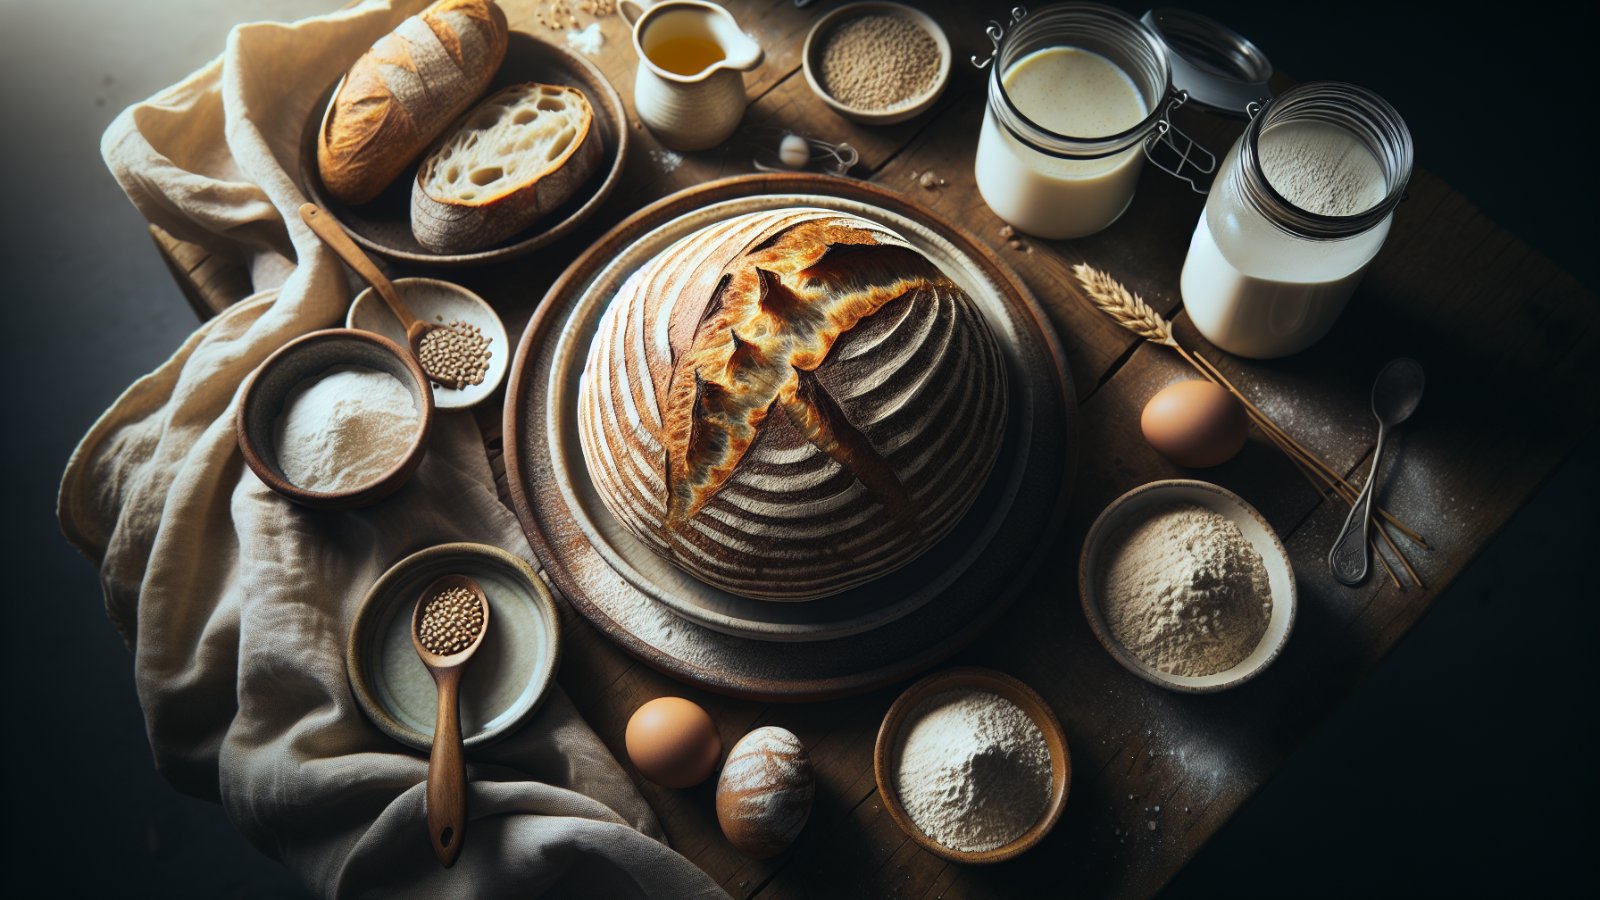
Ingredients
- 100g bread flour (for starter)
- 100g filtered water (for starter)
- 500g bread flour (for bread)
- 375g filtered water (for bread)
- 100g active sourdough starter
- 10g sea salt
- 1 tbsp olive oil (optional)
Instructions
- Step 1: Create starter by mixing 100g flour with 100g filtered water in a clean jar, cover loosely and let sit at room temperature.
- Step 2: Feed starter daily for 5-7 days, discarding half and adding equal parts flour and water until it doubles in size within 4-8 hours.
- Step 3: Once starter is active and bubbly, combine 100g starter with 375g water in a large mixing bowl and stir until dissolved.
- Step 4: Add 500g bread flour to the starter mixture and mix until a shaggy dough forms with no dry flour remaining.
- Step 5: Let dough rest for 30 minutes, then add salt and knead briefly until incorporated.
- Step 6: Perform 4 sets of stretch and folds over 2 hours, letting dough rest 30 minutes between each set.
- Step 7: Shape dough into a tight ball and place seam-side up in a banneton or bowl lined with floured cloth.
- Step 8: Cover and refrigerate overnight or up to 48 hours for cold fermentation and flavor development.
- Step 9: Preheat Dutch oven to 450°F for at least 30 minutes before baking.
- Step 10: Turn dough onto parchment paper, score deeply with a sharp blade, and carefully transfer to hot Dutch oven.
- Step 11: Cover and bake for 20 minutes, then remove lid and bake 20-25 minutes until golden brown and internal temperature reaches 205°F.
- Step 12: Cool completely on a wire rack for at least 2 hours before slicing to allow crumb structure to set.
Tips & Variations
- Feed your starter regularly with equal parts flour and water by weight for best results
- Store your established starter in the refrigerator and feed weekly if not baking frequently
- Use a kitchen scale for most accurate measurements and consistent results
- Create steam in your oven by placing a pan of hot water on the bottom rack during baking
- Score the dough deeply with a sharp blade just before baking for beautiful expansion
- Let the bread cool completely before slicing to allow the crumb structure to set properly
- Save a portion of dough before adding salt to maintain your starter culture
- Experiment with different flour types like whole wheat or rye for unique flavor profiles